Small Win #3: The best homemade pizza dough is also the easiest
Just a reminder that Lahey's no-knead dough exists out there + why sometimes the best action in the kitchen is inaction
Hello and welcome to Small Wins!
In life, it’s the small steps that often lead to the BIG wins — so every other week I share a small win that has the power to enhance your cooking, your home, your life.
Prepare to divorce every other homemade pizza dough you’ve tried because here’s a recipe that’s been plastered all over the internet and for good reason: Jim Lahey’s pizza dough from his brilliant cookbook, My Pizza. Of course, I considered whether such a famous recipe required another outing but then I remembered: the world’s a pretty big place, and even I — someone who’s been obsessed with food and cooking for well over 15 years; someone who does this as a job — learns new things all the time, some of which I can’t believe I’ve not come across before.
This pizza dough is what I call a “final word” recipe. Just like this is the final word on hummus, and these are the final word on chocolate chip cookies, I don’t believe you’ll find an easier or more delicious pizza dough out there for the at-home cook. It delivers superior texture (crispy on the outside, chewy on the inside) and a complexity of flavour that would make you think it had come from your local artisan bakery. I say this confidently: it’s a recipe that you will return to again and again.
Love,
Alexina
P.S. A reminder that the special offer on annual subscriptions (£39/yr instead of £59/yr) ends tomorrow. Don’t miss out!
For my Small Wins+ Community - Last month it was all about jam-making but this month (coming tomorrow!) we’ll be diving into a topic close to my heart: kitchen organisation. We’ll cover the problem with most #OrganisationInspo, the storage tools that are actually worth your money, a couple of organisational principles to help you arrange your space and brutal honesty about the kitchen equipment that you don’t need. (Small Wins+ is the supercharged version of this newsletter for paid subscribers — find out more here.)
Coming up in the next few weeks (for all subscribers)— the avocado crema that you’ll be adding to all your tacos forevermore, the most underrated summer dessert + what no one tells you about cooking rice
LET ME INTRODUCE YOU TO THE NO-KNEAD GUY
Jim Lahey is affectionately known in cooking circles as the “no-knead guy” for his ingenious bread technique that leaves yeast and time to do the majority of the work for you. And when it comes to the merits of creating such a straightforward dough, he says it best: “I enjoy feeding people, and pizza and bread is a great way to feed many.”
Jim Lahey started out as a baker, spending months traveling throughout Italy learning the art of baking, before returning to New York to open Sullivan Street Bakery. On New Year’s Day 2002, following the tragedy of 9/11, he threw a pizza party at the bakery for the community — to help start the year on a hopeful note. It became a very popular, regular event but it wasn’t until 2006 that everything changed.
Having pitched his no-knead bread recipe to numerous American cooking publications including Gourmet and Food & Wine, finally it was the influential journalist Mark Bittman who took it on, penning an article about Jim’s no-knead technique* in the New York Times. From this point onwards the no-knead approach became hugely influential, changing the game for home bakers and catapulting Jim into the culinary spotlight . In the words of chef and food writer Peter Reinhart, it was “the recipe that democratised bread-baking.” A few years later, in 2009, Jim opened Pizzeria Co. (now permanently closed) — one of the first restaurants in the artisanal pizza movement that swept New York in the 2010s — and in 2012 a cookbook followed: My Pizza.
The genius of Jim’s recipe is based on two powerful forces in cooking: time and hydration (which I’ll explain in further detail in the next section).
This recipe will become your go-to because:
It requires zero kneading and limited hands-on work
The dough ferments on your kitchen counter — no need to find space in the fridge
The timings can flex around your lifestyle
The dough freezes really well for future pizza making
Did I mentioned that IT’S DELICIOUS?!
It feels like the best kind of magic.
*Jim is the first to admit that he didn’t invent the no-knead technique — he came across it in Italy in 1991, and has come to believe that it was how they made bread in ancient Rome — however, he and Mark certainly led its modern renaissance.
SOMETIMES THE BEST ACTION IS INACTION
Something I will probably repeat no end in this newsletter is the fact that time is a key ingredient in cooking. Think of all the flavour that develops when you cook a hunk of meat low’n’slow in the oven. Or you allow something to ferment (think: sourdough, miso paste, yoghurt). Or you dry something out (think: sundried tomatoes, parmesan, dried porcini mushrooms). It’s pretty powerful stuff, and learning how to harness time will become one of your biggest assets in the kitchen.
A lot of chemical, biological and physical processes are a function of time, which means opting for inaction in the kitchen is not a choice to be lazy — rather it’s a choice to allow these processes the space they need to occur.
Time can allow:
Proteins to relax — e.g. when you rest meat after cooking it
Proteins to break down (i.e. tenderise) — e.g. when you slow-cook a tough cut of meat
Liquids to absorb evenly — e.g. in doughs
Liquids to evaporate (in combination with heat) — e.g. sundried tomatoes
Flavours to infuse and transfer from one medium to another — e.g. through marinades, or when infusing creams for desserts
Flavours to meld, develop and mellow — e.g. when you eat a curry a day or two after it’s made and it tastes even better than before
Yeasts to develop and act — e.g. in the fermentation of wine, miso, kimchi etc.
In Jim Lahey’s no-knead pizza dough time is allowing multiple things to happen: it’s giving the flour the chance to hydrate properly, it’s giving the yeast time to act, it’s allowing the flavours to deepen — it’s pretty powerful stuff.
THE IMPORTANCE OF HYDRATION FOR THE HOME BAKER
The words “high hydration dough” have been bandied about a fair bit the last few years so it seems to be catching on that adding a higher proportion of water to your dough can yield a number of benefits to your bread: namely a softer, lighter, more bubbly dough. Still, what never seems to be explained is why a high hydration dough is so beneficial to the home cook specifically. I’ll come to that a little further below but first…
A quick note on baker’s percentages
Bakers’ percentages refer to the % of an ingredient in proportion to the flour. The flour in a recipe always represents 100% and whichever ingredients are added (water, butter, eggs etc.) are each expressed as a proportion of that.
When we’re talking about hydration in a dough, we’re talking about the ratio of water to flour in the recipe. If the quantity of water equals the quantity of flour, we call that a 100% hydration dough. If the water represents 3/4 of the flour quantity, we call that a 75% hydration dough. Something to bear in mind is that very high hydration doughs can become tricky to work with.
Neopolitan-style pizza is some of the most delicious in the world — with plush bubbly crusts and a super thin base — but it might surprise you to know that the pizza dough recipe I’m about to share has a meaningfully higher hydration level than your average Neopolitan dough: we’re talking 75% vs 60%. There’s a reason for this, and it all comes down to the oven.
In a professional pizza oven the temperatures typically exceed 400°C which, I don’t need to tell you, is hella hot. This means that the pizzas cook in just 2 to 3 minutes, offering limited opportunity for water to evaporate from the dough. The dough, then, needs to have a reasonable level of hydration, but this does not need to be ultra high because the dough will retain a lot of its moisture.
In a home oven, however, you’re working with much lower temperatures — most domestic ovens will take you no further than 250°C. This means a much longer cooking time, and thus more opportunity for water to evaporate from the dough. To compensate for this, you need to start with a higher hydration dough.
Some advice for working with high hydration dough:
Cultivate a relaxed mindset
Use a dough scraper for dividing the dough, picking it up and even cleaning your bowl (you’ll need one of the flexible ones like this for cleaning the bowl)
Wet your hands to stop the dough sticking to your fingers (counterintuitive, I know)
Build your pizzas on parchment paper, so that they can be slid in and out of the oven with ease
THE BEST + EASIEST PIZZA DOUGH
Adapted from Jim Lahey’s My Pizza
Scroll on down to the end of the recipe to see my advice on how to make the schedule for this dough fit into your life!
Makes 4 x 10” inch pizzas (alternatively you can use the dough to make large rectangular pizzas to feed many, instead of individual round ones — this will speed up the compiling and baking process).
Ingredients
1 kg strong white bread flour
4 tsp fine sea salt (or 8 tsp if you’re using Diamond Kosher salt)
1/2 tsp instant yeast (or 1/4 tsp if operating on a longer schedule — see my note on scheduling below the recipe)
750ml water
Method
Whisk together the flour, salt and yeast in a large bowl until combined.
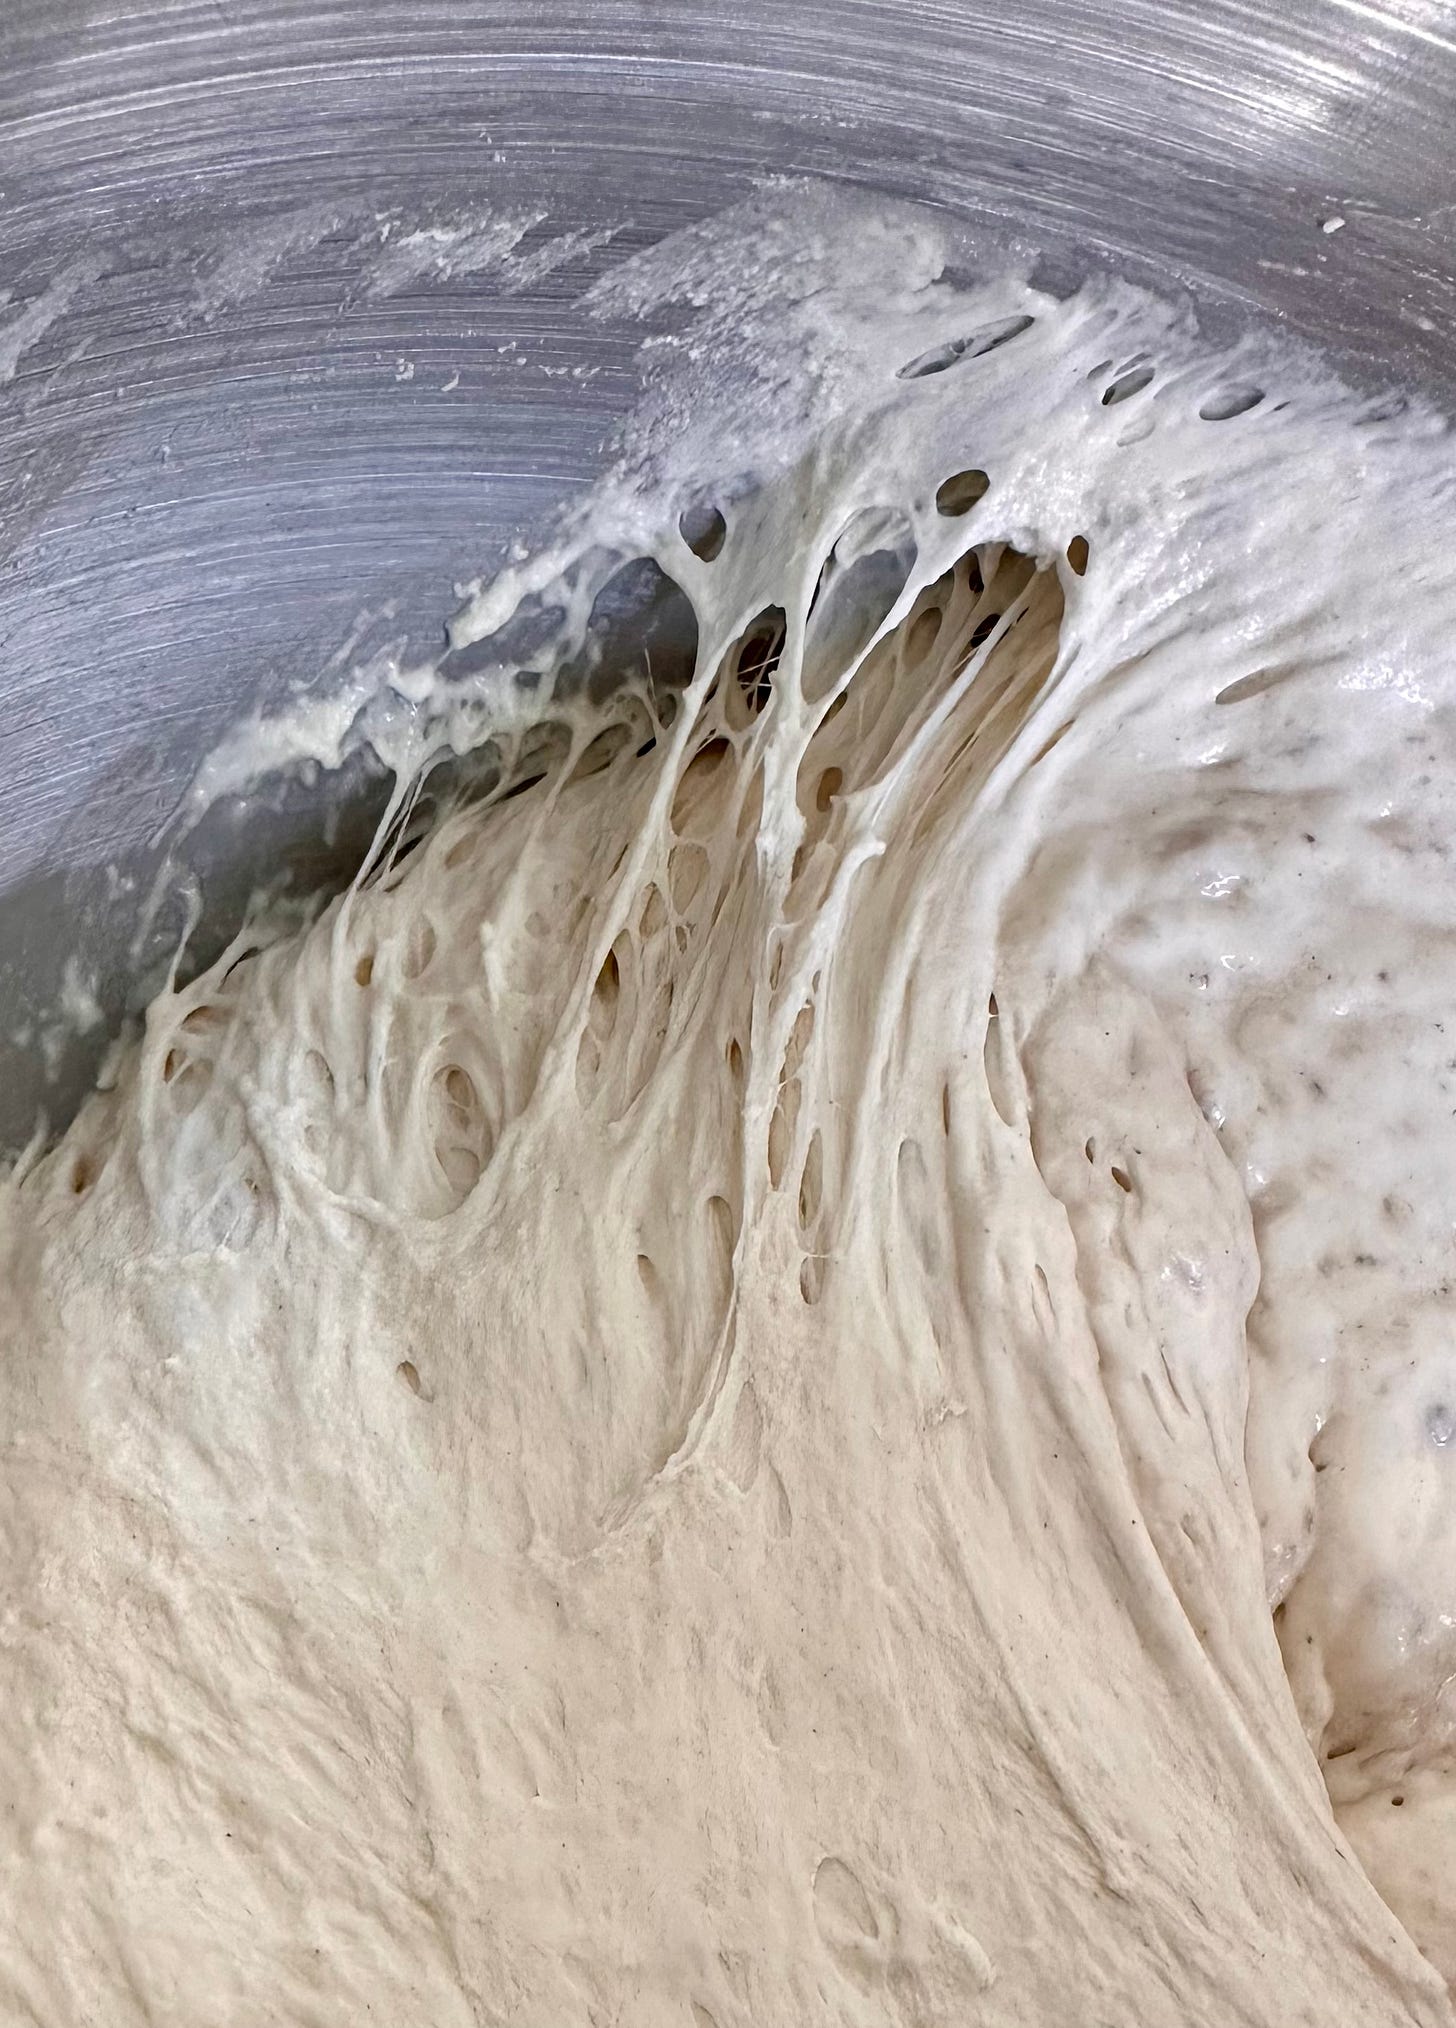
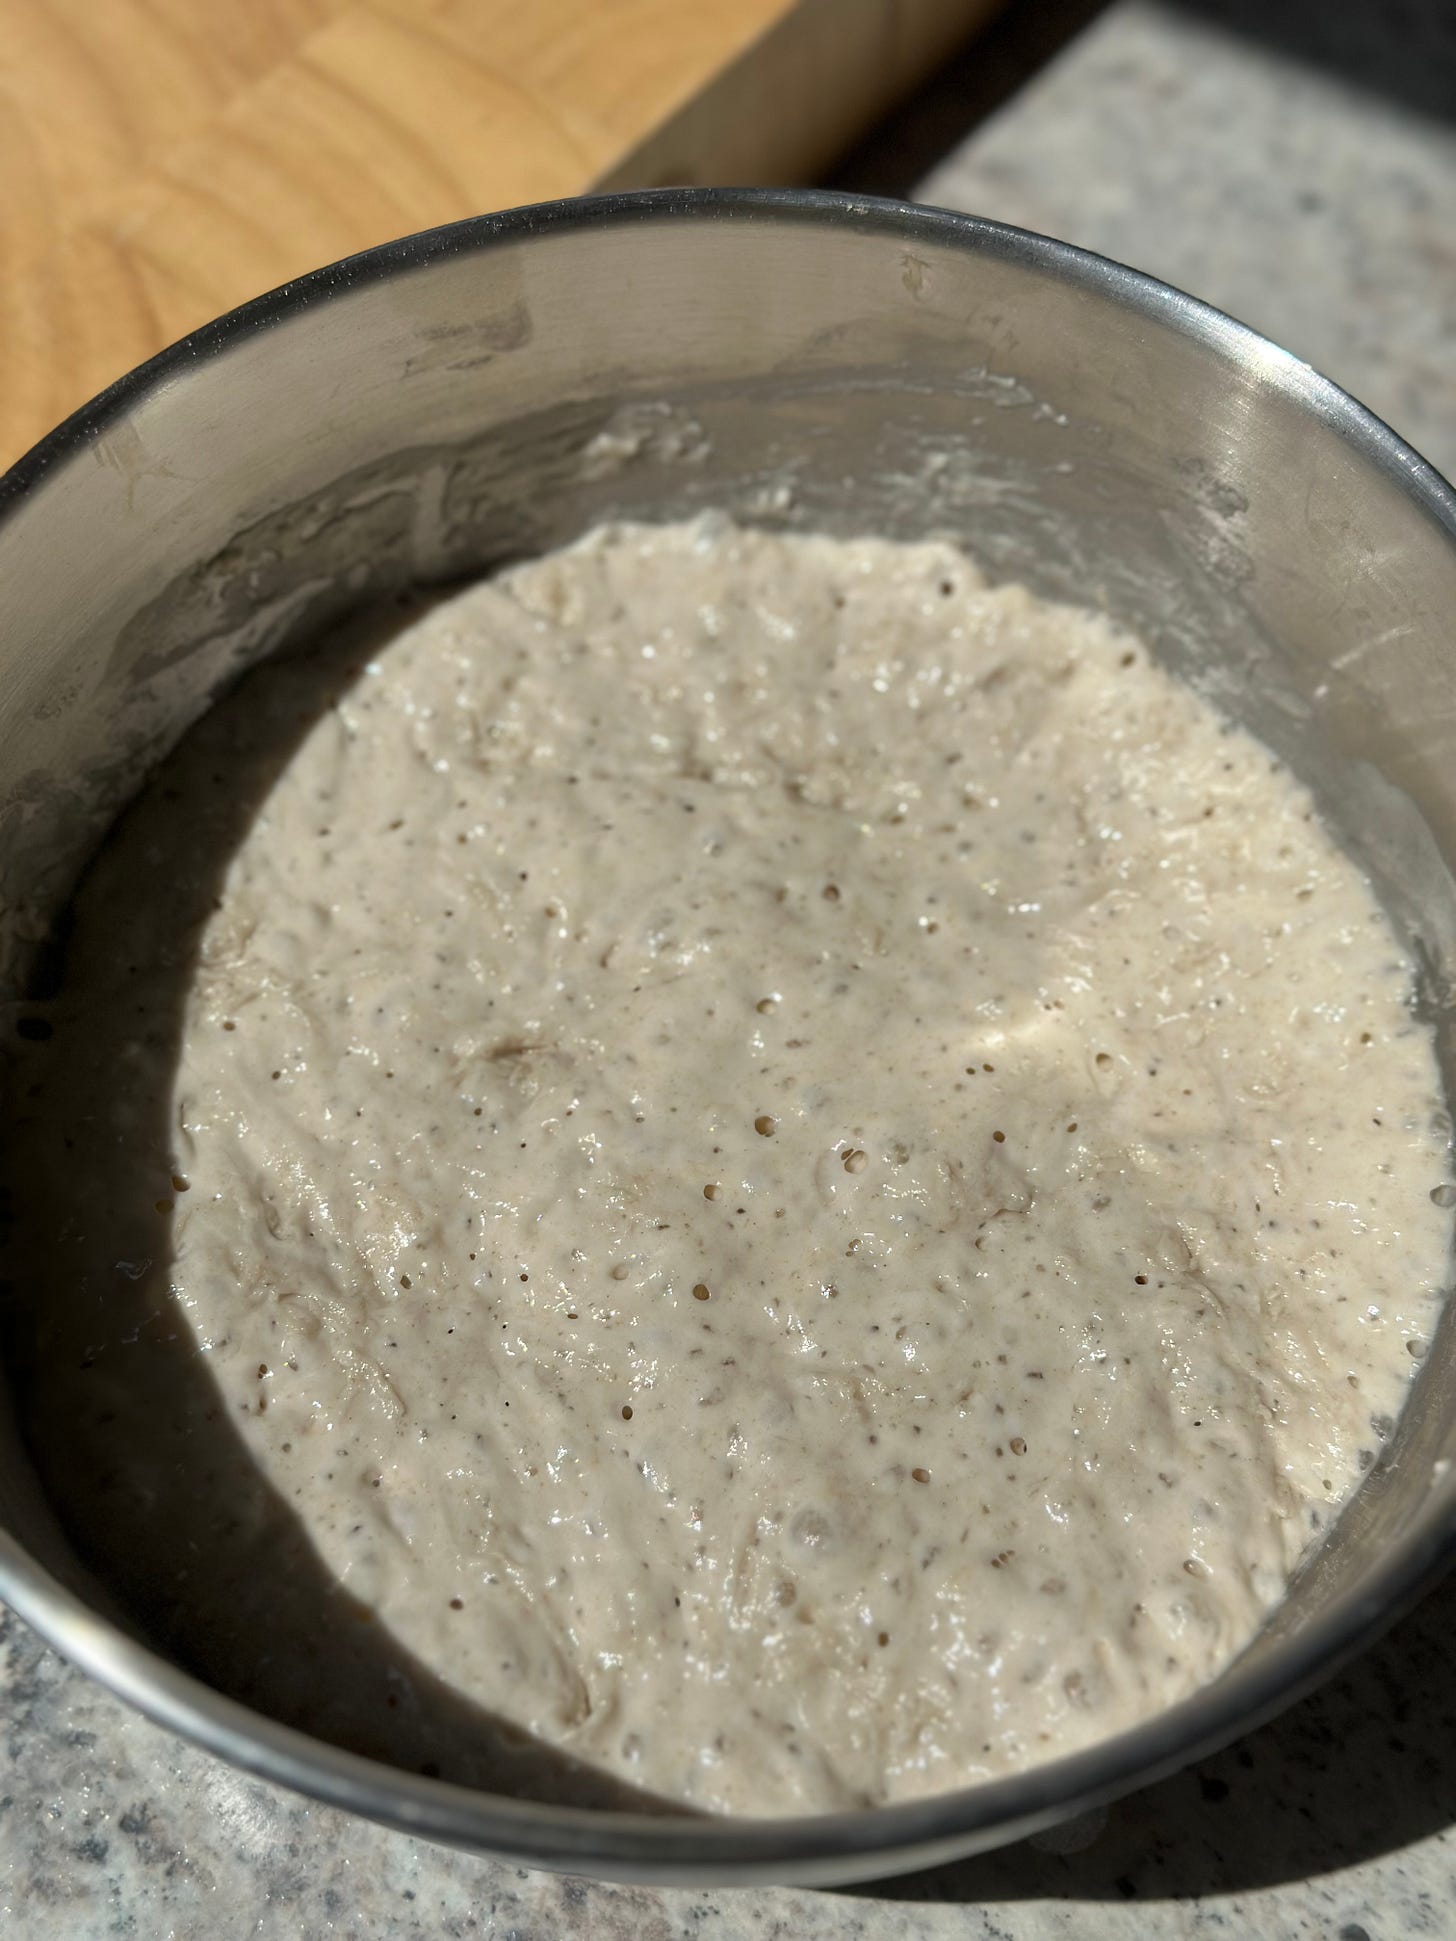
Switch to a spoon (or your hand) and stir the flour mix whilst you gradually pour in the water. Once fully combined, cover the bowl with clingfilm and place aside for 18 hours. After this time it’ll look like this:
Remove the dough from the bowl onto a lightly floured surface and use a dough scraper to evenly divide the dough into portions, then form them into neat(ish) balls (see the video below). Cover lightly with cling film and rest for an hour.
Preheat your oven to its highest setting and place a large baking tray on the top shelf, upside down, to heat up at the same time (or, if you have a pizza stone, use that).
Place a sheet of greaseproof paper on a flat baking tray (or similar) — something that you can use to easily transfer the pizza to the oven (essentially a makeshift pizza peel!). Working with 1 dough ball at a time, gently tease and stretch out the dough to an 11” round on the greaseproof (it will shrink down, which is why you want to make it bigger than you want it).
The trick is to be pretty gentle with it, so that you preserve the air bubbles in the dough (air bubbles = texture!). Check out 1:45 to 2:50 in the YouTube video below to see the man himself doing it:
Repeat with the rest of the dough balls on separate greaseproof sheets.
Top the pizzas with your desired toppings (don’t go too heavy with them — you don’t need much) then transfer to the oven to bake.
Here’s how I transfer to the oven: I line my flat baking tray up with the edge of the counter (if you only have a lipped baking tray simply flip it upside down) and slide the greaseproof sheet with the prepared pizza onto it. Then I take the tray with the pizza to the oven, and again slide the greaseproof sheet onto the preheated tray in the oven (it’s worth wearing oven gloves to avoid burning yourself!).
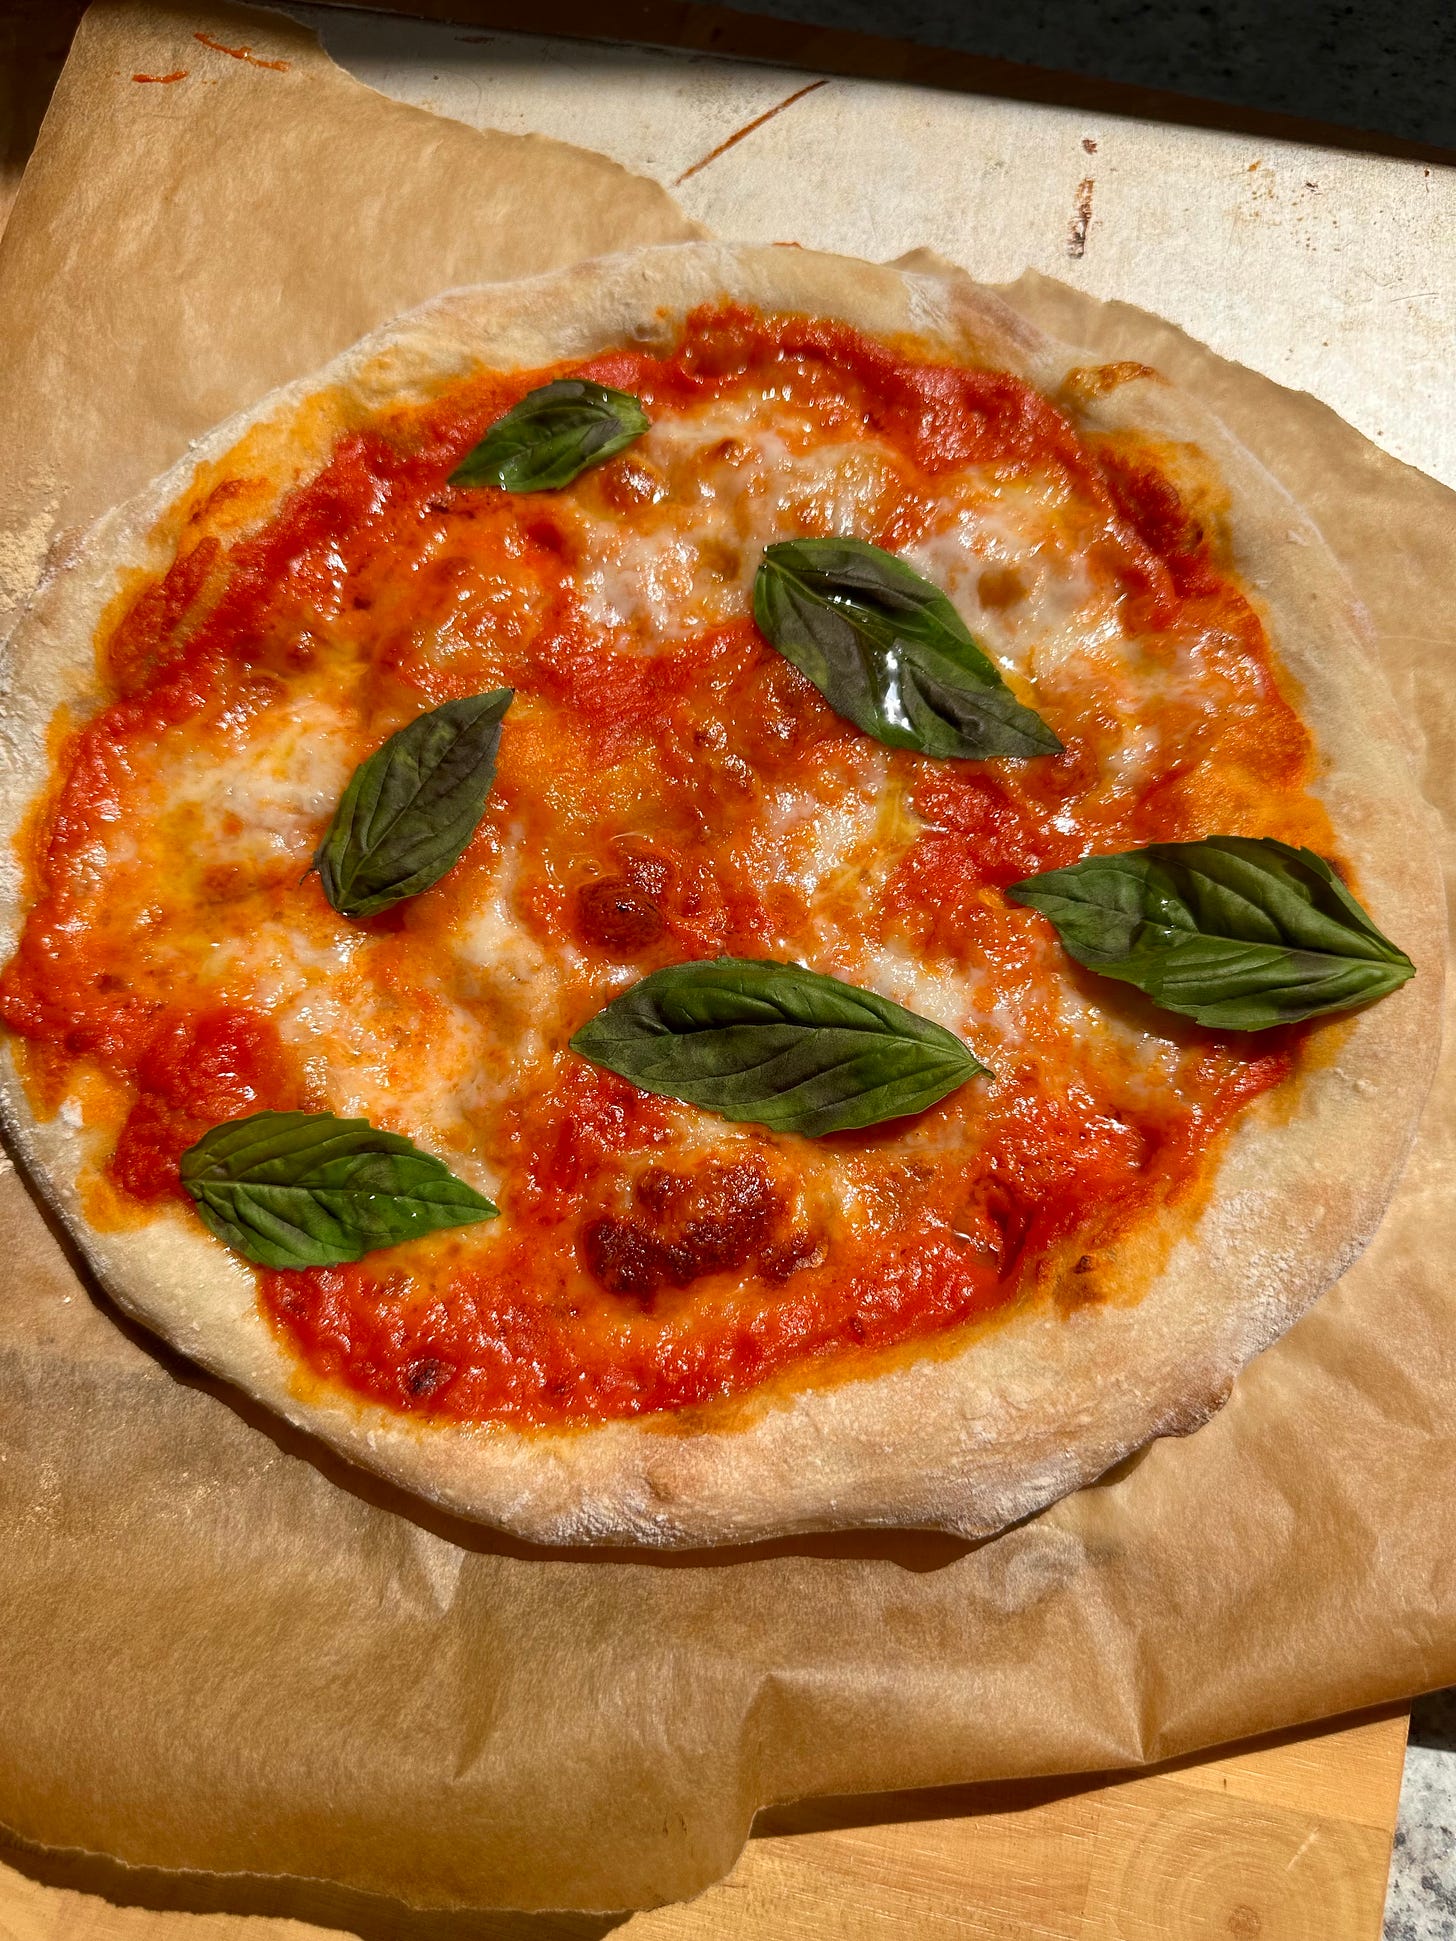
Bake for between 8 and 14 minutes (the timing is likely to vary quite a lot between ovens, but you’ll quickly get the hang of it). What you’re looking for is the top to be blistered and lightly charred, and the crust to be golden.
As soon as the pizza comes out finish with basil and a drizzle of extra virgin olive oil, then cut into slices (kitchen scissors are the best way to do this) and eat straightaway — just be careful not to burn your mouth!
A note on scheduling
The 18 hour timeframe for resting the dough is ideal if you’re looking to make pizza for lunch on the weekends. Here’s how it can work:
The day before:
5/6pm: Mix up the dough
The next day:
11am/12pm: Divide the dough, rest it for another hour
12pm/1pm: Shape, build and bake your pizzas
1pm/2pm: Pizza on the table
If you’re looking to make pizza for dinner, here are your options:
If you’re a night owl, you can mix up the dough at 10pm/11pm, for pizza on the table around 6pm/7pm the next day.
Alternatively, if you’d like to mix up your dough earlier in the evening — say at 5/6pm — simply reduce the instant yeast quantity to 1/4 tsp to slow down the fermentation. This will facilitate you having pizza on the table around 6/7pm.
SOME PIZZA TOPPINGS INSPO
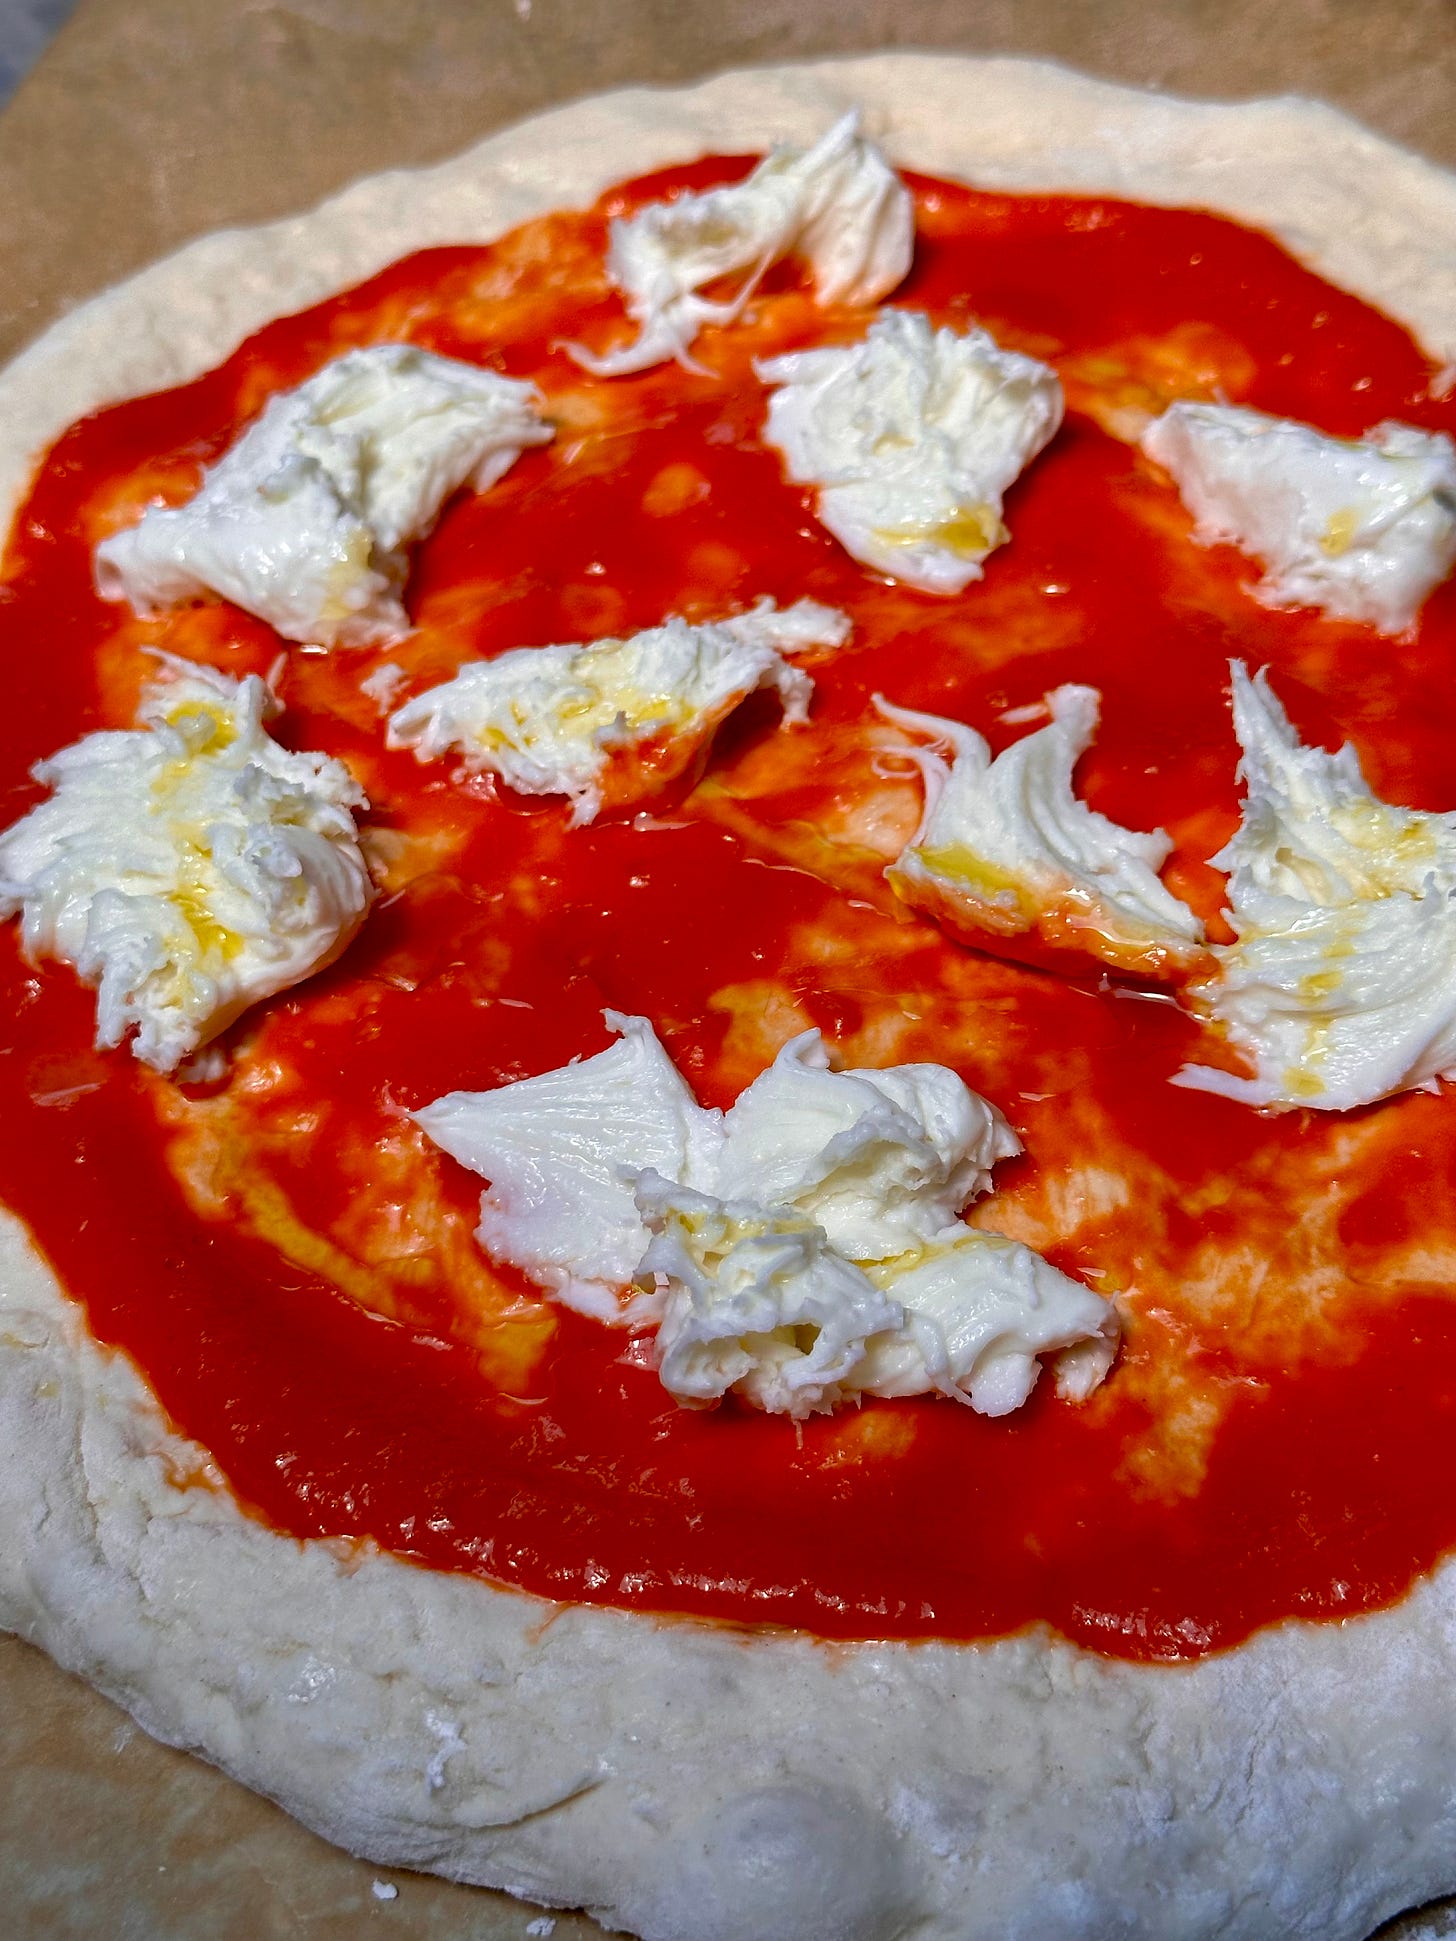
Mozzarella + nduja (tomato sauce base)
Fried portobello mushrooms + mozzarella + thyme + truffle oil (plain base)
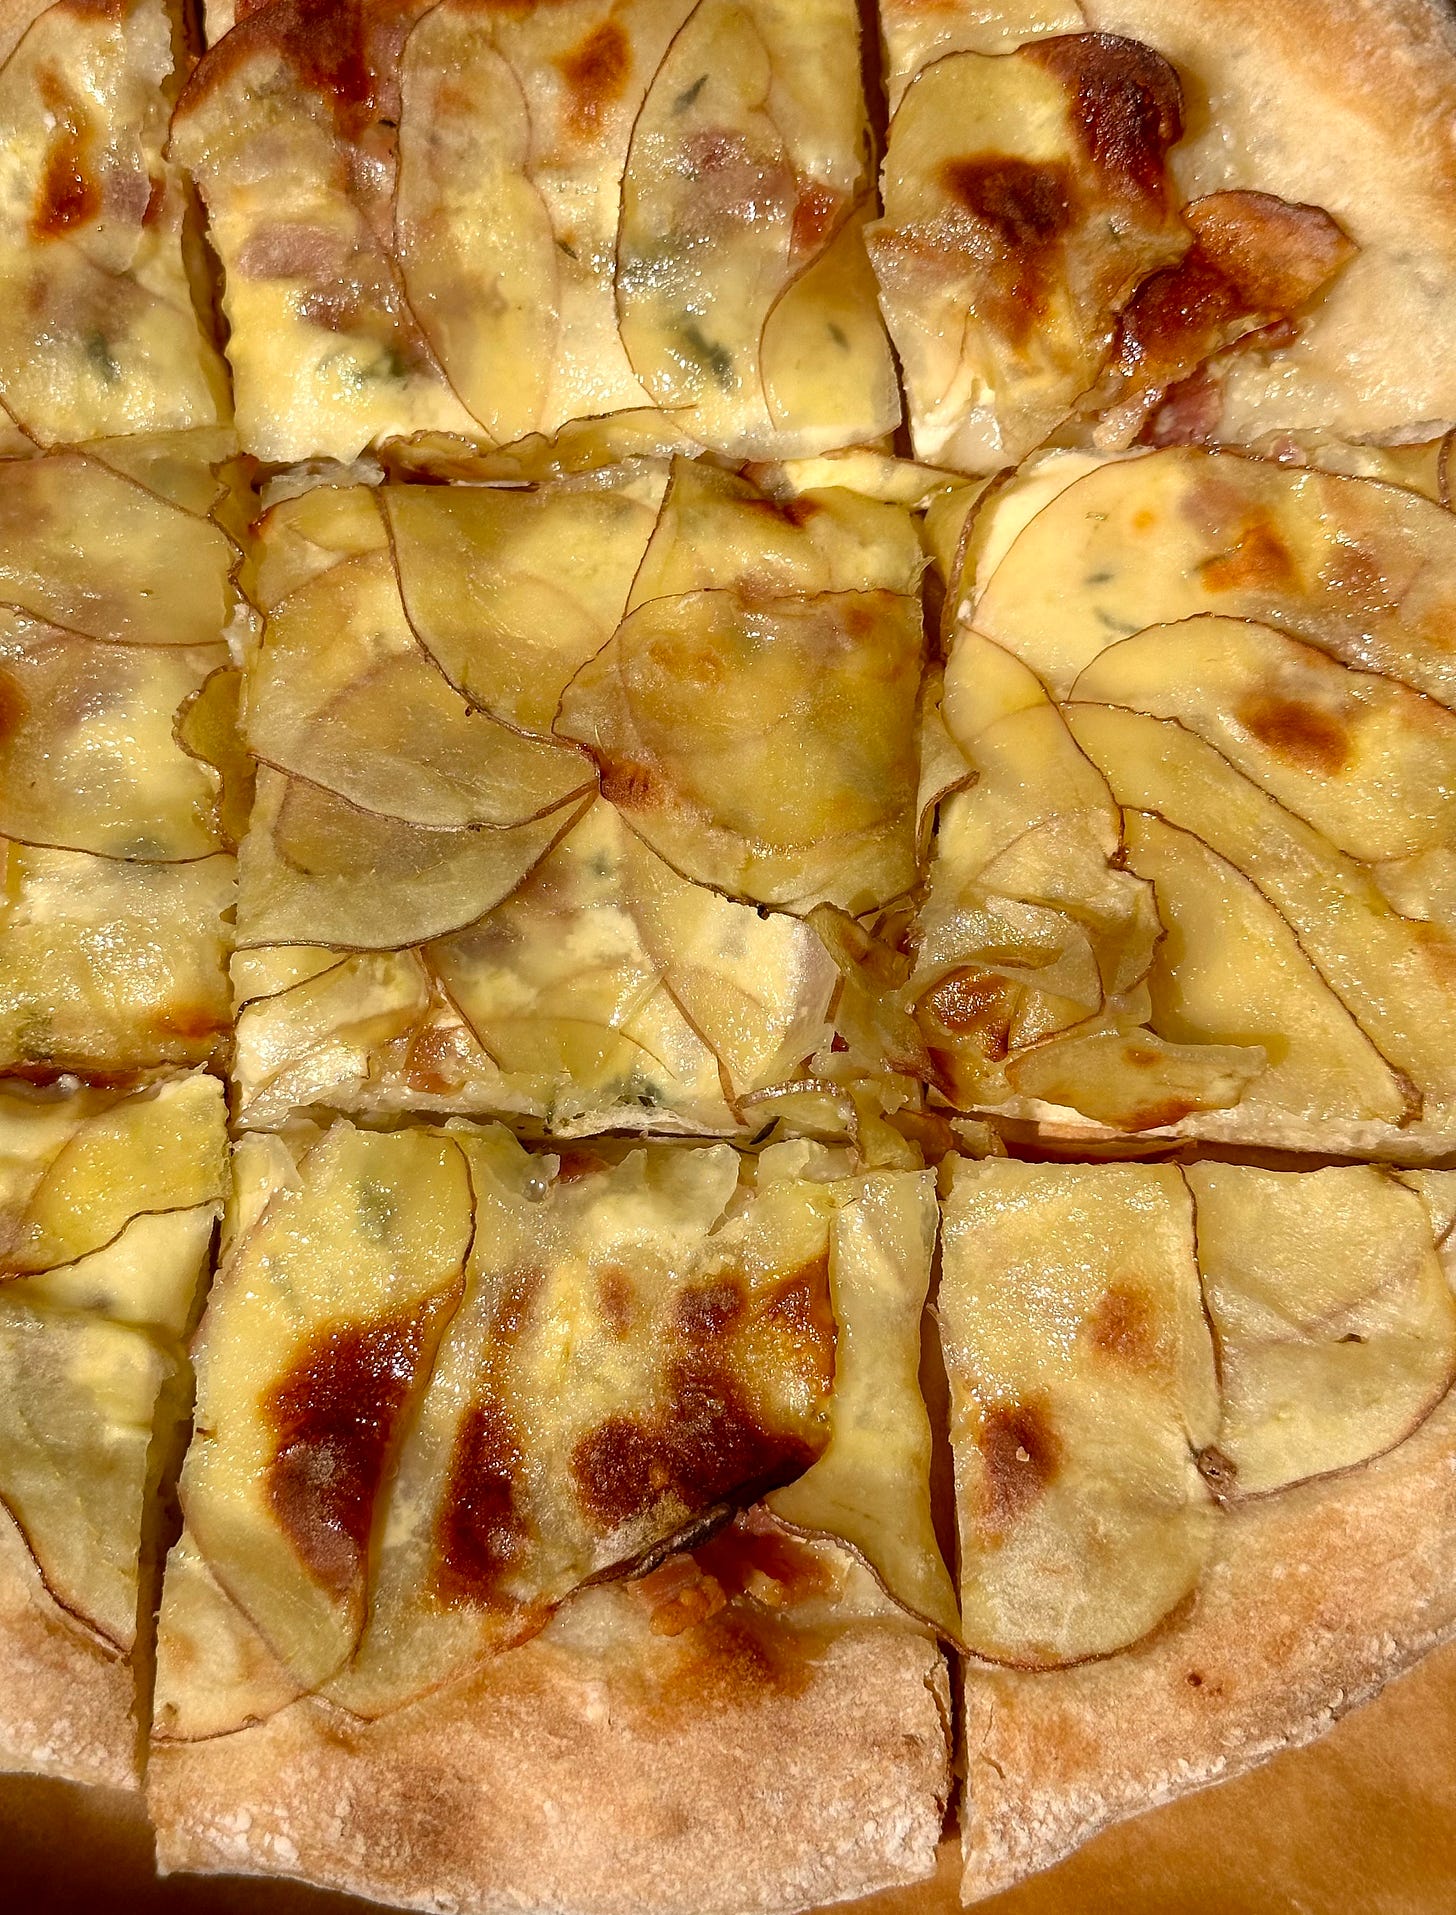
Crispy bacon + thyme + thinly-sliced potatoes (creme fraîche base)
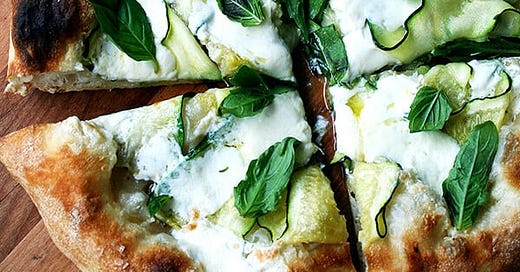
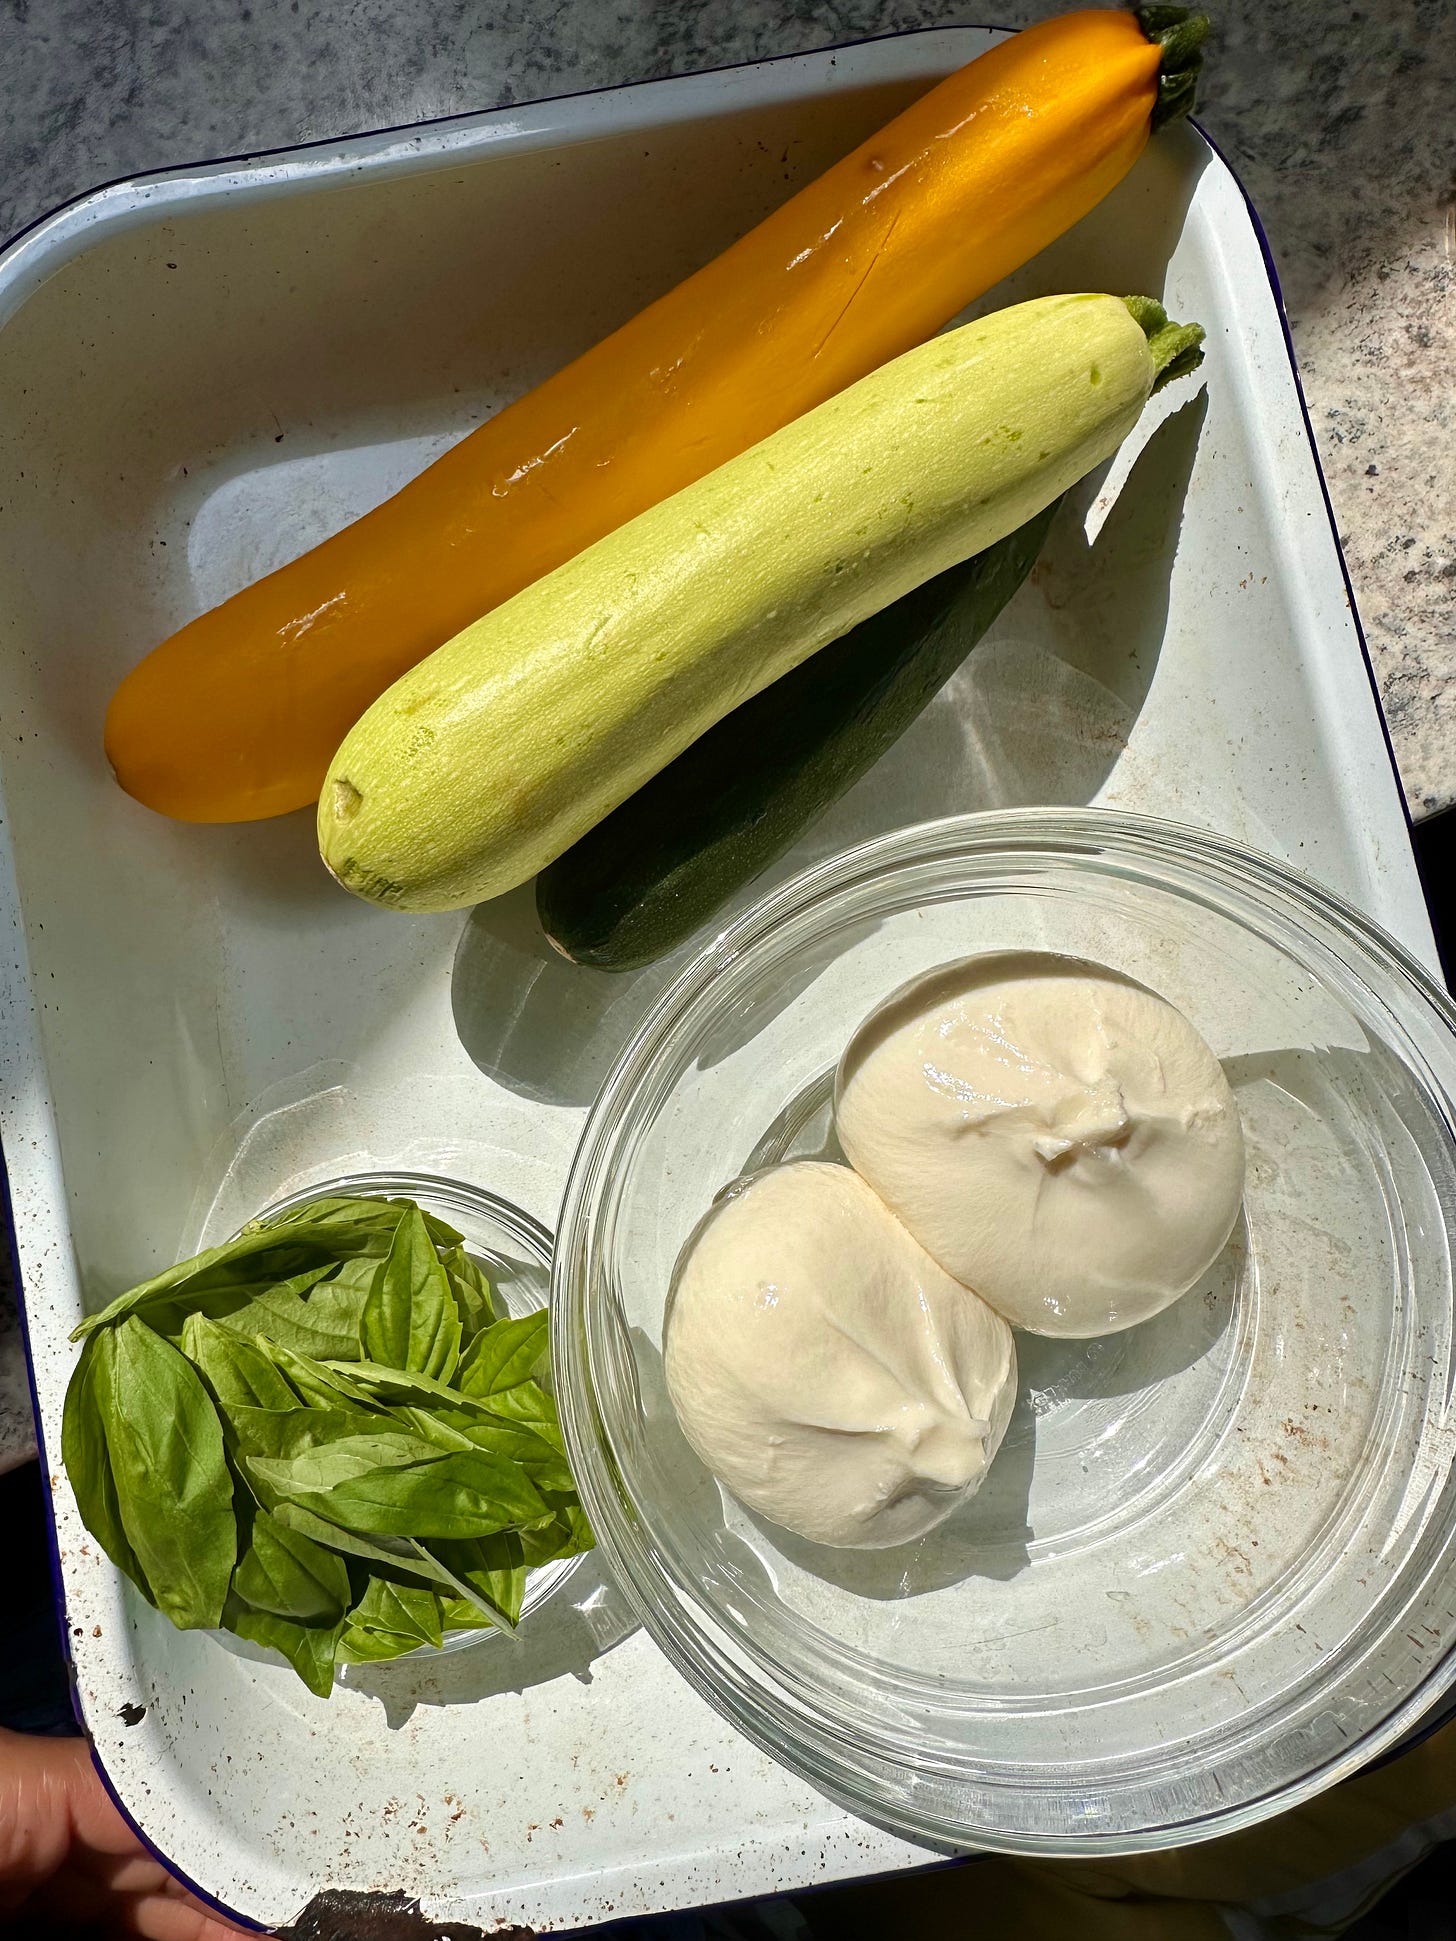
Courgette ribbons + burrata + basil (anchovy + olive oil across the base)
Shaved asparagus + Parmesan (ricotta + garlic base)
Roasted aubergine + halved datterini tomatoes + mozzarella + basil (tomato base)
Sausage meat + cavelo nero + parm (ricotta + garlic base)
FURTHER READING + RESOURCES
A dough scraper is an invaluable kitchen tool! This is the version that I have (I liked the feminine lilac colour). Cheaper plastic versions like these also have their place as their flexibility makes them useful for scraping doughs out of bowls.
If you’re making pizza regularly then you might want to consider purchasing a pizza stone for your oven (or simply go the whole hog and treat yourself to an outdoor pizza oven).
SHARING IS CARING
If you think someone else would benefit from this post, go ahead and share the knowledge!
BITTER — MY COOKBOOK!
In case you didn’t know, I wrote a cookbook called BITTER which:
Explains why bitterness is the missing ingredient in your cooking
Teaches you how to work with bitter flavours
Shares over 80 delicious recipes
Head this way if that sounds like a bit of you 🖤
DISCLOSURES
This post may contain affiliate links. I only link to items that I have paid for in full and have used extensively.



Thank you! Such a great post
Definitely trying this out. Looks great. Thank you! Does the dough freeze well?